Understand the Right Way to Measure Packaging Dimensions
Accurate box measurements are the foundation of custom packaging design—without them, your entire production workflow is at risk.
While measuring a box might appear straightforward, even minor miscalculations can lead to packaging that fails to protect the product, inflates shipping costs, or compromises brand presentation. In the world of custom packaging, every millimeter counts—not just for product fit, but for design layout, material consumption, and logistic efficiency.
For example, choosing a box that’s just 3mm too large in one dimension could double the space required on a pallet—impacting storage fees and freight costs across hundreds or thousands of units. On the other hand, choosing a box that’s even slightly too small can lead to product damage, customer complaints, and returns.
By learning how to measure correctly from the inside, and understanding the correct order of dimensions, you ensure your packaging:
-
Protects your product without excess material
-
Fits your branding design perfectly
-
Ships efficiently and cost-effectively
Throughout this guide, we’ll walk you through every technical detail you need—from understanding L × W × H, to calculating internal volume, to adjusting for box type and padding—so your packaging strategy is accurate from concept to execution.
What Are the Three Key Dimensions of a Packaging Box?
Length, width, and height are the universal standards for defining the structure of any packaging box—understanding them correctly is critical to avoid miscommunication and design errors.
In packaging manufacturing, dimensions are not just numbers—they are functional indicators that guide everything from dieline layout to machine setup. When measuring a box, it is essential to use the internal dimensions, as these directly determine whether your product will fit properly inside the packaging. External measurements may vary due to board thickness, lamination layers, or structural reinforcement, and relying on them can result in critical misfits.
Let’s break down the three key measurements:
-
Length (L): This refers to the longest side of the box when looking down into an open box from the top view. It typically corresponds to the front-facing panel where product branding or primary messaging is displayed.
-
Width (W): This is the shorter side, measured from left to right, perpendicular to the length. It forms the depth of the front-facing panel and plays an important role in determining how your design elements wrap around the edges.
-
Height (H): Also referred to as Depth in some industries, this is the vertical measurement from the top opening to the base of the box. It affects stacking strength, overall volume, and how much vertical space your packaging occupies during shipping and retail display.
📐 Standard industry format: Length × Width × Height (L × W × H)
This sequence is used consistently by packaging engineers, graphic designers, and logistics teams to ensure everyone is referencing the same orientation and measurement logic.
Why Terminology Consistency Matters
You may notice that some suppliers or clients refer to “depth” instead of “height,” particularly in sectors like cosmetics, food, or retail. While these terms are often used interchangeably, inconsistency can lead to production delays or incorrect dielines if not clarified. At POZI, we always confirm all structural specifications in L × W × H format, using internal measurements in millimeters or inches.
Measurement Tools and Accuracy Tips
-
Always measure the inside edge of the box walls—not the outside.
-
Use a rigid ruler, caliper, or metal tape for accuracy.
-
Avoid estimating or rounding unless your supplier specifies tolerances.
-
Double-check your measurements against your product’s dimensions, including any inserts, padding, or secondary packaging.
Understanding and documenting the correct L × W × H of your box is a non-negotiable step before moving to sampling, printing, or production. It lays the groundwork for everything that follows—from prototyping to freight optimization.
Why Internal Measurements Matter More Than External Ones
In custom packaging, internal dimensions—not external—are the industry standard for a reason: they guarantee that your product fits precisely, safely, and professionally inside the box.
While external measurements might be easier to take, they don’t reflect the usable space inside a box. For rigid boxes, corrugated mailers, or folding cartons, the thickness of the material, coatings, and structural folds all reduce the internal capacity compared to what you measure from the outside. Relying on external dimensions can lead to costly issues in packaging design and supply chain execution.
Internal vs. External: What’s the Real Difference?
Let’s consider a common example—a corrugated box made of E-flute board (1.6mm per side). If the box uses double-wall structure or lamination, the wall thickness can easily increase to 3–5mm. That’s up to 10mm of difference in internal volume across all sides. In high-volume production or tight-fit packaging, that’s not a margin for error—it’s a critical failure point.
Internal dimensions determine:
-
Whether your product fits without excessive movement
-
How much padding or protective insert you can use
-
How snugly components like rigid lids, magnetic flaps, or sleeves operate
-
How well the box closes, especially in multi-piece constructions
External dimensions affect:
-
Palletization layout
-
Shipping volume and costs
-
Shelf footprint in retail
Both are important, but internal dimensions always come first when designing around your product.
Industry Practices and Standards
At POZI, we follow international standards (e.g., FEFCO and ECMA) that require all technical drawings, samples, and mass production to be based on internal measurements. This avoids production misalignment between client expectations, print layouts, and die-cut tooling.
Most box factories, including offset and flexo printers, will reject or require clarification on designs provided with only external dimensions—especially when high-value products or tight tolerances are involved, such as:
-
Luxury rigid boxes for jewelry or electronics
-
Custom-fit shipping cartons for fragile items
-
Insert trays or molded pulp solutions for secure display packaging
Client Misconception: “But I Want to Know the Outside Size”
This is a valid concern—especially for those planning how the box fits into outer cartons, shelves, or POS displays. That’s why our team provides both internal and external dimensions at the design confirmation stage, clearly labeled and visualized through 3D mockups or dielines.
But when you start your packaging project, always begin with the internal space required by your product, then build outwards with board thickness and design tolerance in mind.
How to Calculate the Volume of a Box
Volume calculation is more than a mathematical exercise—it’s a critical tool for optimizing packaging efficiency, reducing logistics costs, and ensuring your products are protected throughout the supply chain.
Understanding the internal volume of a packaging box allows you to evaluate how much space your product will occupy and whether that space is used effectively. In large-scale manufacturing, warehousing, and distribution, volume directly influences everything from material usage to pallet configuration and freight charges.
The Basic Volume Formula
The volume of a box is calculated using the formula:
📦 Length × Width × Height = Volume
For example:
A box with internal dimensions of 25cm (L) × 15cm (W) × 10cm (H) has a volume of 3,750 cm³.
Ensure your units are consistent—use metric (cm³ or mm³) for most packaging design work unless you are working in a region (like the U.S.) where inches and cubic inches are standard.
Why Volume Matters in Custom Packaging
-
Logistics and Shipping Efficiency
Shipping costs are increasingly calculated using dimensional weight (DIM weight), especially by courier services like FedEx, DHL, and UPS. This means your shipping fee is based not only on the actual weight of the package, but also on the amount of space it occupies.If your box design is overly large relative to your product, you’re paying to ship air. Calculating volume helps you right-size your packaging, keeping freight charges under control.
-
Material Optimization
Volume calculations guide structural engineers in selecting the most efficient box style and material thickness. For instance:-
Low-volume items may work best in folding cartons.
-
High-volume items might require reinforced corrugated boxes or insert trays.
At POZI, we use internal volume metrics to balance material costs with protective requirements and visual appeal.
-
-
Inventory and Storage Planning
Knowing the volume helps in forecasting storage needs at both your production site and distribution warehouse. When you stack thousands of units, every cubic centimeter matters. -
Structural Fit and Insert Design
Insert materials—such as EVA foam, paperboard partitions, or molded pulp—must align with the internal volume of the box. Incorrect volume data can result in poorly fitted inserts or damaged products.
Tools for Accurate Volume Measurement
-
Manual Measurement
Use internal dimensions and a calculator to estimate cubic volume. This is reliable for basic box shapes. -
3D Packaging Software
Advanced tools like ArtiosCAD, Packmage, or Adobe Dimension allow for automated volume calculations, including irregular shapes and fold mechanics. -
POZI Design Support
We offer volume optimization consulting during the custom packaging development process. This ensures your box is engineered for both aesthetic appeal and operational performance.
Measuring Boxes of Different Shapes and Styles
Every box structure comes with its own measurement nuances—understanding these variations ensures dimensional accuracy across dielines, prototypes, and mass production.
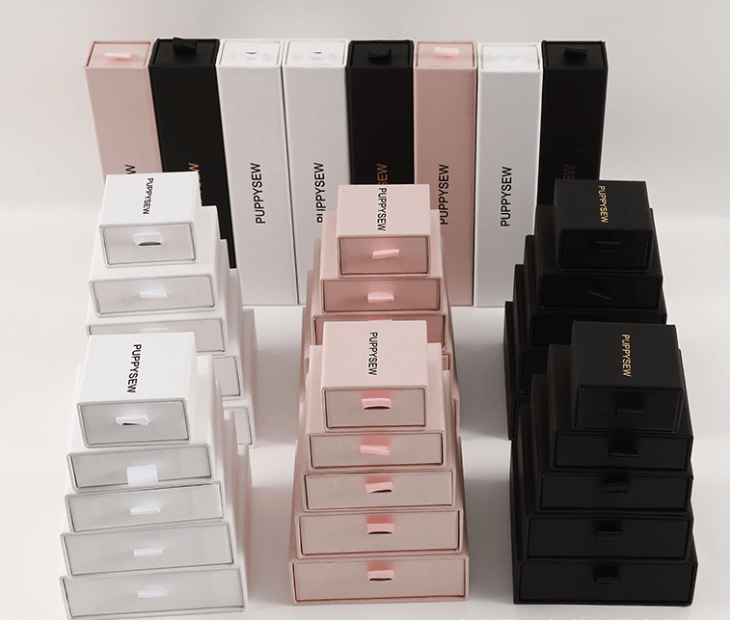
Not all boxes are built the same, and as your packaging evolves beyond standard cartons to incorporate complex forms—such as telescoping lids, hinged rigid boxes, or die-cut mailers—the way you measure and interpret dimensions must adapt accordingly.
Different styles demand different measurement strategies, especially when structural elements such as overlapping flaps, insert cavities, or multi-layered walls come into play. Below, we’ll break down how to approach measuring various popular box styles used in custom packaging.
Common Box Styles and Measurement Best Practices
| Box Type | Measurement Tips |
|---|---|
| Mailer Boxes | Measure internal length and width after folding flaps flat. Ensure height includes the full side wall, not just the base panel. |
| Two-Piece Rigid Boxes | Measure the base only, as this is where the product sits. Do not include lid height unless lid fit impacts overall volume. |
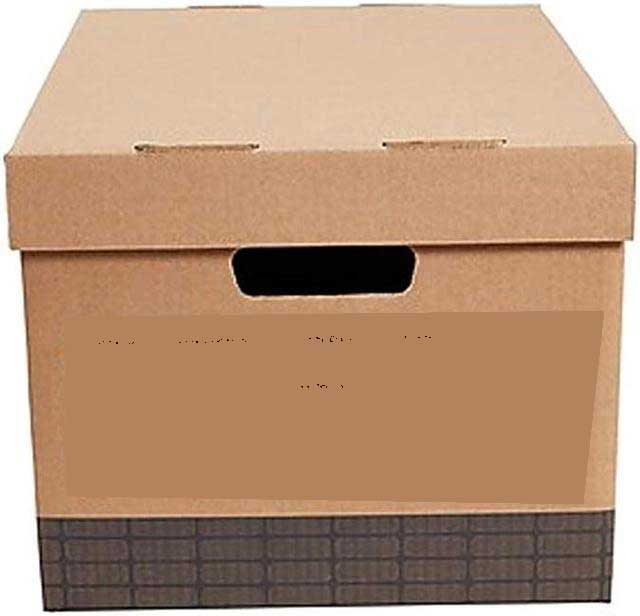
| Corrugated Shipping Boxes | Always measure post-assembly with flaps folded down. External overlaps can distort internal size. |
| Magnetic Closure Boxes | Measure from inside the base to the top edge, excluding the magnetic flap. Height should be defined before hinge design begins. |
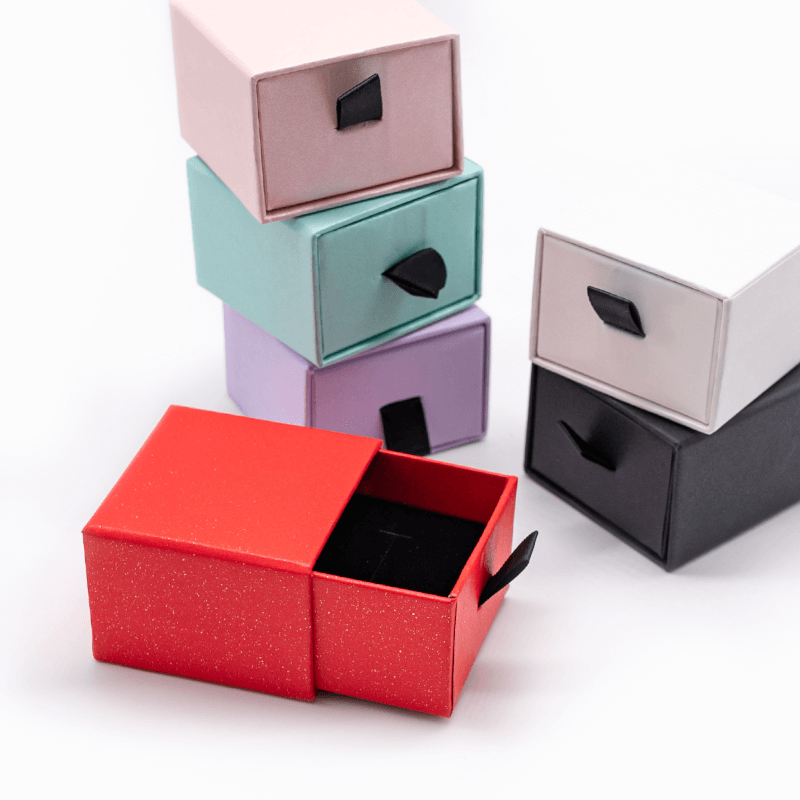
| Sleeve and Drawer Boxes | Measure the drawer piece (the inner box), not the sleeve. Internal dimensions must fit product and any cushioning. |
| Custom Die-Cut Boxes | Use the dieline layout provided by your packaging supplier. Complex curves and locking tabs may change usable space. |
Structural Considerations to Keep in Mind
-
Tolerance Allowances
Some structures may shrink slightly after gluing, folding, or applying lamination. We typically advise a ±1mm tolerance in internal dimension expectations for rigid boxes and ±2–3mm for corrugated cartons. -
Hidden Loss in Multi-Layer Designs
Boxes with internal dividers, partitions, or dual walls may have “invisible” space reductions. Always account for these when calculating final product fit. -
Non-Rectangular Forms
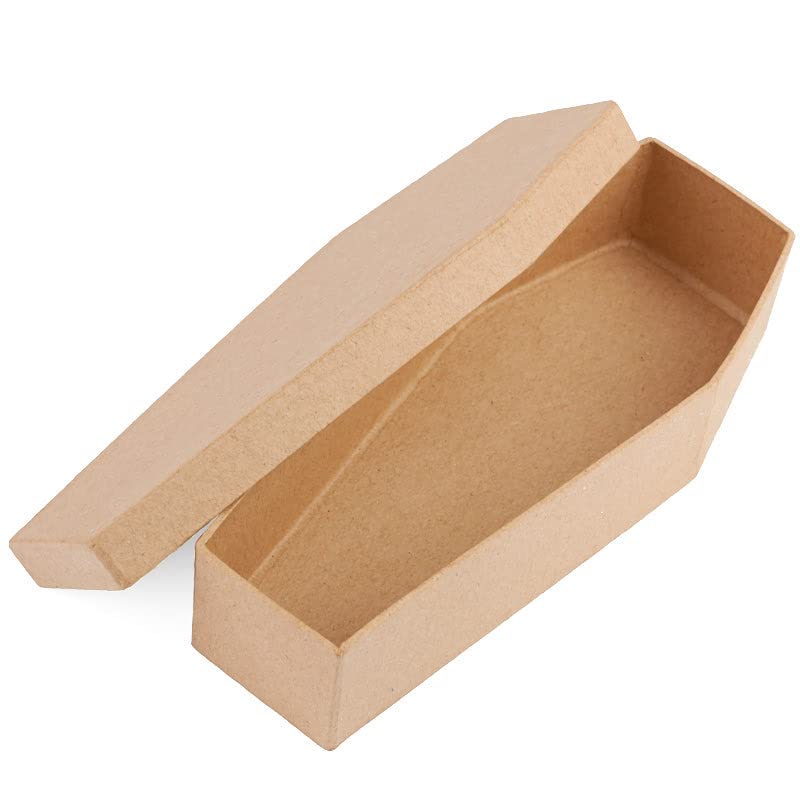
Cylindrical boxes, polygonal containers, or irregular forms require custom templates. Measurements here must include both diameter (or diagonal span) and depth, often using CAD tools. -
Insert Compatibility
If your design includes foam or molded pulp inserts, their exact shape and compressibility will affect the box’s internal space. Measurement must account for insert thickness and compression behavior during closure.
POZI Engineering Support
Our structural design team at POZI works directly with clients to assess these variables during the prototyping phase. We create precise 3D renderings and dielines that reflect the true, post-assembly internal space of each packaging design—ensuring your product fits, your inserts align, and your branding layout prints exactly as intended.
Pro Tip: Account for Product Padding or Inserts
If your box includes any form of insert or internal padding, you must factor that space into your measurements from the very beginning—otherwise, the packaging won’t function as intended.
One of the most common mistakes in packaging development is neglecting the spatial impact of internal accessories like foam trays, blister inserts, paperboard dividers, or molded pulp. These components may not seem significant at a glance, but even a few extra millimeters of thickness can affect the box’s ability to close, the alignment of branding, or the structural integrity during transport.
Types of Internal Inserts and Their Impact on Dimensions
| Insert Type | Considerations When Measuring |
|---|---|
| EVA or PE Foam | Highly customizable but not compressible. Requires exact cavity cuts and firm margins. |
| Die-Cut Paperboard | Lightweight and space-efficient. Usually 1–2mm thick; must be considered in height/width. |
| Molded Pulp | Eco-friendly but bulkier. Wall thickness may reach 3–6mm and adds pressure on internal walls. |
| Plastic Trays (PVC, PET) | Hard material with zero flexibility. Requires precise spacing and surface matching. |
| Shredded Paper or Tissue Wrap | Loosely fills gaps. Does not affect dimensions but influences product centering. |
Each material behaves differently under pressure and closure. For instance, foam inserts are unforgiving—if the box height is off by even 1–2mm, the lid may not close properly. Molded pulp, while biodegradable, expands slightly in humid environments and must be designed with tolerance zones.
Key Engineering Adjustments to Consider
-
Bottom & Lid Clearance
Inserts placed at the base of the box must allow enough vertical space for the product and any top padding (e.g., sponge pad or lid lining). If both insert and product height exceed internal clearance, the box will bulge or fail to close. -
Sidewall Pressure Points
Tight-fitting inserts that push against side panels may cause deformity or creasing—especially in rigid gift boxes. Consider leaving 1–2mm of breathing room on all sides unless a press-fit is intentional. -
Layered Configurations
If your box includes multiple product layers (e.g., stacking cosmetic jars or electronics and accessories), calculate the total vertical height and ensure each layer’s insert doesn’t exceed its allocated segment. -
Insert Tolerances
Always communicate expected insert material and thickness to your packaging supplier. Our team at POZI adjusts dieline specifications to reflect final fit—not just product size.
Common Misconceptions to Avoid
-
“It’s soft, so it’ll compress.”
This may be true for bubble wrap or tissue, but not for foam or plastic trays. -
“Let’s figure out the insert later.”
Designing the box first without insert consideration leads to post-production issues, including costly redesigns. -
“We’ll use the same box for multiple SKUs.”
Unless all items share the same shape and size, you’ll likely need multiple insert variations—or a modular interior design strategy.
At POZI, we co-engineer inserts and boxes simultaneously, ensuring a perfect balance between protection, presentation, and dimensional efficiency. We also provide 3D previews so you can visualize how your product fits before production begins.
Frequently Asked Questions (FAQ)
To help you avoid confusion and make smarter packaging decisions, here are the most frequently asked questions we receive from clients—along with professional insights behind each one.
Q1: Should I measure the box with or without the lid?
A: Always measure the internal dimensions of the base only, excluding the lid. In two-piece rigid boxes, for example, the lid is designed to slide over the base and does not contribute to usable internal volume. Measuring with the lid included often leads to overestimated height, which can result in inserts that are too tall, or graphics that don’t align with the visual center of the base unit.
At POZI, we provide separate specifications for base and lid upon request, ensuring perfect fit and functional aesthetics in luxury box designs.
Q2: Why does my manufacturer ask for dimensions in millimeters instead of inches?
A: Millimeters offer finer accuracy and are considered the global standard in packaging manufacturing. While inches or centimeters may suffice for general estimation, dielines, die-cut tooling, and structural engineering all require precise millimeter-level inputs to ensure tight tolerances during production.
A 2mm error may sound small, but it could mean:
-
A misaligned insert
-
A lid that won’t close
-
A logo that sits off-center
At POZI, all our technical files are prepared in millimeters, though we can provide imperial unit conversions if needed for your internal reference or for North American market compatibility.
Q3: Can I use one box for multiple products of similar size?
A: You can—but only if the variation in product size is minor and you’ve planned for modular or adjustable inserts. Using a one-size-fits-all box can reduce packaging SKUs and simplify logistics, but only when the differences between products are minimal or addressed via:
-
Removable foam inserts
-
Adaptive spacers
-
Compartment-based designs
Otherwise, over-sizing for smaller items can damage your brand image and increase shipping costs unnecessarily.
Q4: How do I ensure my printed design aligns correctly with the box dimensions?
A: Ensure your designer uses the final, confirmed internal dimensions and matches them to the correct dieline template provided by the packaging supplier. Misalignments usually occur when graphic designers work from estimated box sizes or apply artwork without considering folds, gluing areas, or bleed zones.
POZI supplies full dieline files, 3D renderings, and pre-production proofs for every custom order to eliminate these risks.
Q5: Can POZI help me select the right box size and structure for my product?
A: Absolutely. That’s one of our core services. Whether you’re starting from scratch or adjusting an existing box design, our packaging engineers and product consultants will:
-
Evaluate your product dimensions
-
Recommend box styles suited for your category and protection level
-
Provide insert suggestions based on product shape and fragility
-
Supply structural prototypes before mass production
We don’t just print boxes—we help you design smarter ones that optimize protection, logistics, and branding value.
Ready to Design the Perfect Box?
Getting the dimensions right is just the beginning—successful custom packaging requires expertise in structure, material, branding alignment, and cost control. At POZI, we bring it all together to help you create packaging that delivers both performance and presentation.
Now that you understand how to accurately read, measure, and apply box dimensions—from internal volume calculations to insert compatibility and structural variations—you’re in a far better position to make strategic packaging decisions. But no matter how well you grasp the theory, translating that into real-world packaging success takes experience, equipment, and engineering know-how.
That’s where we come in.
At POZI Packaging, we offer more than manufacturing—we provide end-to-end packaging solutions, tailored to your product’s size, weight, fragility, and brand identity. Whether you need:
-
A rigid luxury box for high-end retail presentation
-
A corrugated mailer optimized for e-commerce
-
A custom-fit insert with protective cushioning
-
Or full support on dielines, prepress artwork, and structural design
—we’ll guide you through every step, ensuring nothing is left to guesswork.
Why Partner with POZI?
-
📐 Precision Engineering — All dimensions confirmed by structural experts
-
📦 Material Flexibility — Rigid board, corrugated, kraft, coated paper & more
-
🛠️ Custom Inserts — Foam, molded pulp, paperboard & hybrid solutions
-
🎨 Design & Proofing — Full dieline support, 3D mockups, and pre-production samples
-
🌍 Global Shipping & MOQ Options — From startup batches to bulk distribution
Let’s Build Your Ideal Packaging Solution
Whether you’re just starting with a concept or have a fully developed product that needs better packaging, POZI is here to help.
📩 Contact us now for a free structural consultation, design support, and quotation—your perfect box starts with a precise measurement, and we’ll take care of the rest.
Table of Contents
- Understand the Right Way to Measure Packaging Dimensions
- What Are the Three Key Dimensions of a Packaging Box?
- Why Internal Measurements Matter More Than External Ones
- How to Calculate the Volume of a Box
- Measuring Boxes of Different Shapes and Styles
- Pro Tip: Account for Product Padding or Inserts
- Frequently Asked Questions (FAQ)
- Ready to Design the Perfect Box?

